

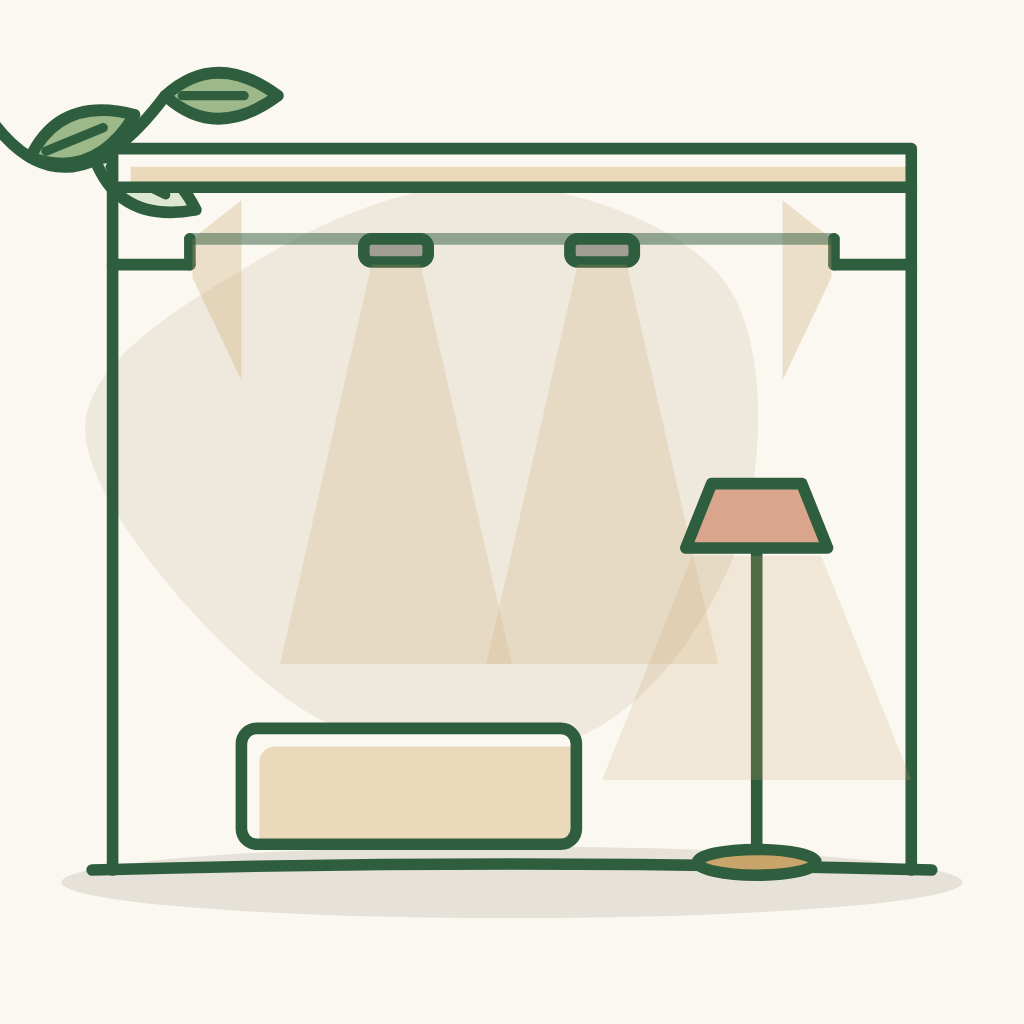
Lighting: the biggest investment
Lighting is the item with the most investment and must be done most carefully. The architect designs the lights by the purpose of each area and accounts for all usage situations.
For the architect
5 notes
Get to know each other and make both sides' expectations clear before signing with the architect.
Apply to every item; restate them to the architect and contractor from the start.
Things to settle before construction starts.
Foundation, floors, walls, concrete, waterproofing.
Electrical, plumbing, air-conditioning, network — done before plastering and tiling.
Floors, walls, ceilings, doors, paint.
Kitchen, sanitary ware, built-in cabinets.
Loose furniture and lighting, done last inside the house.
Lighting is the item with the most investment and must be done most carefully. The architect designs the lights by the purpose of each area and accounts for all usage situations.
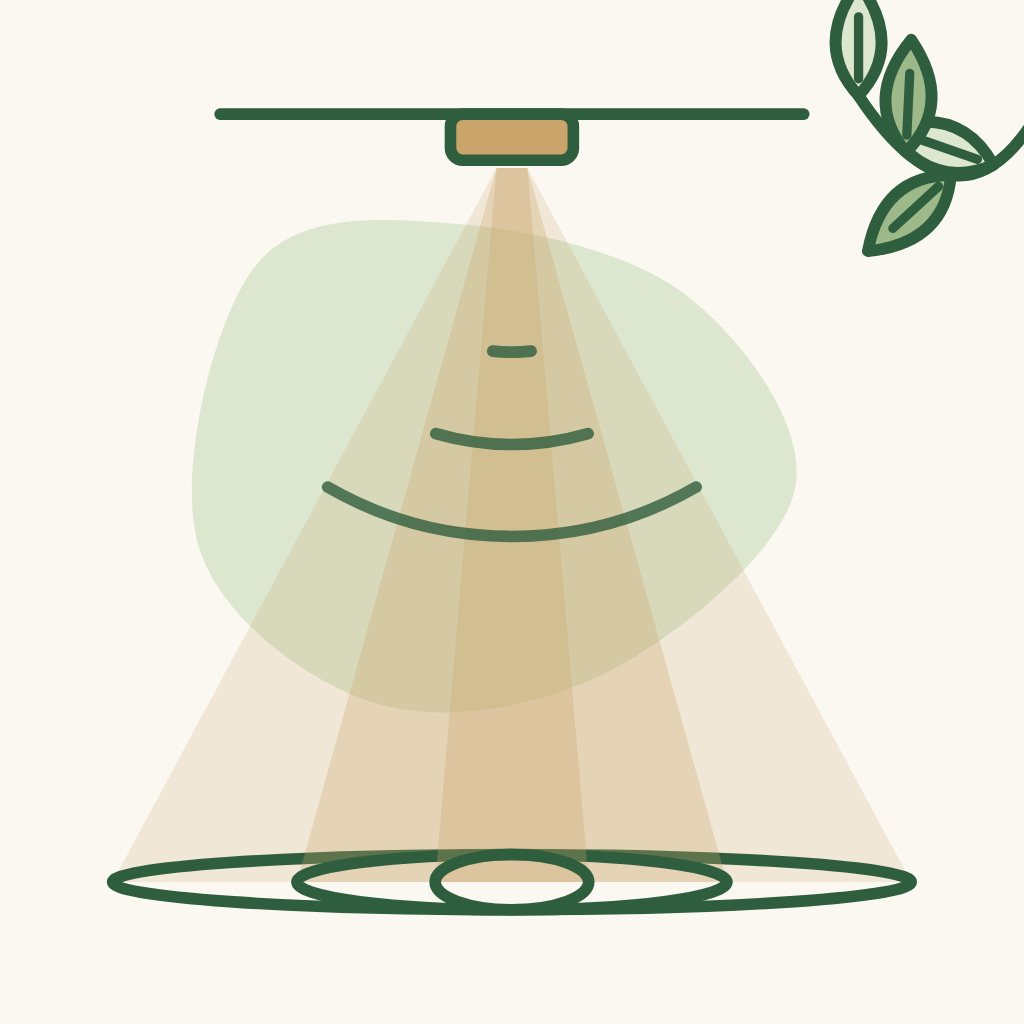
Lights that do not glare; true colour (CRI > 95-97 for large spaces); easy to change bulbs without damaging the plasterboard ceiling. The lighting layout drawing states for each bulb: lamp type, beam angle (e.g. 10°, 30°, 50°, 90°...). Check each position for glare on people sitting, going about their activities, watching TV...

Limit pendant lights, especially over the kitchen island (they collect dust). If used, pick a cheap model from Shopee.

Decorative lights - the architect chooses.

Safe movement at night: lights at the entrance steps and on the stairs (on the steps or the wall).
Gate, yard, plants, irrigation.
Checks before taking over the house and after moving in.