

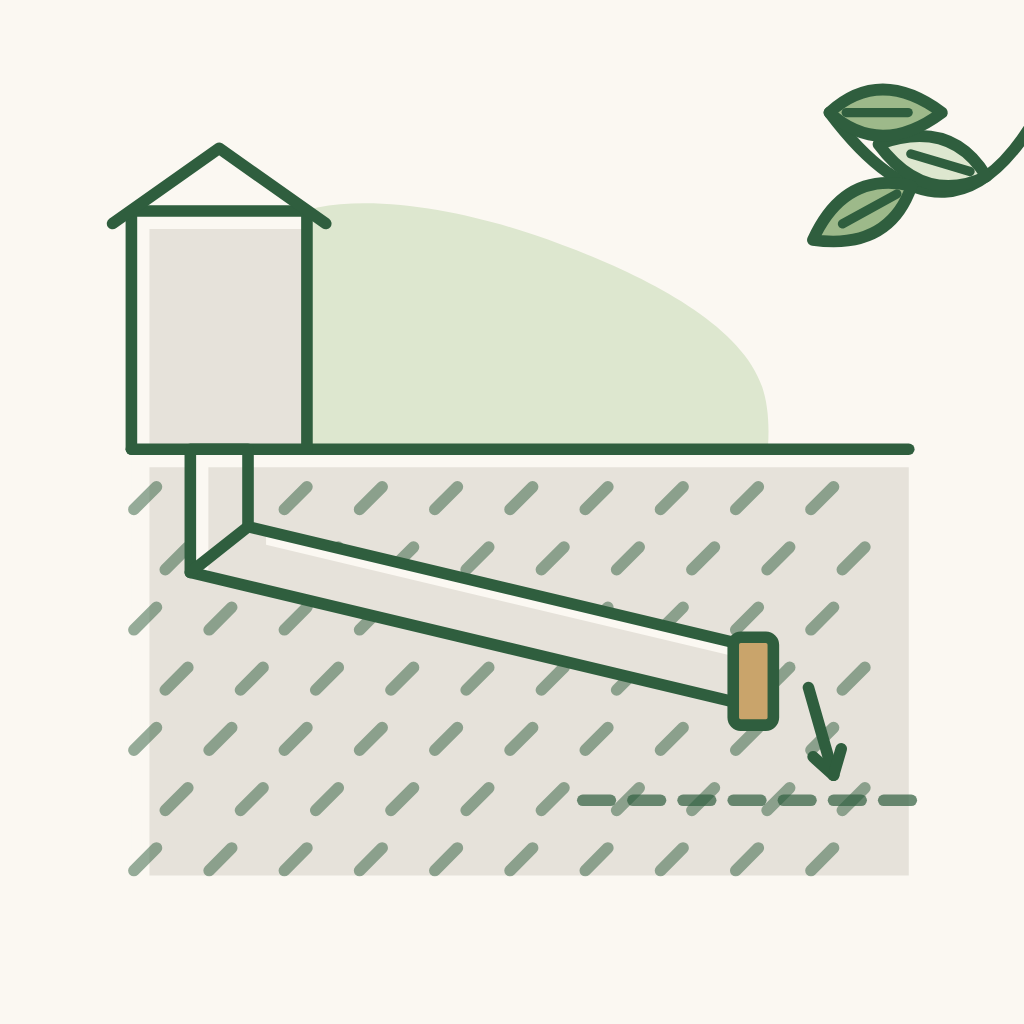
Wastewater drains well
Wastewater drains well even though the area has no public sewer yet; connecting later when a sewer arrives is easy.
For the architect
8 notes
Get to know each other and make both sides' expectations clear before signing with the architect.
Apply to every item; restate them to the architect and contractor from the start.
Things to settle before construction starts.
Foundation, floors, walls, concrete, waterproofing.
Wastewater drains well even though the area has no public sewer yet; connecting later when a sewer arrives is easy.

Septic tank, water tank and the parts that are hard to change later are sized for the number of future users: currently 3-4 people, later 5-8 people (3 generations).

Future swimming pool (maybe 10-20 years from now): plan the space so there is room to build it then; leave the water line ready.
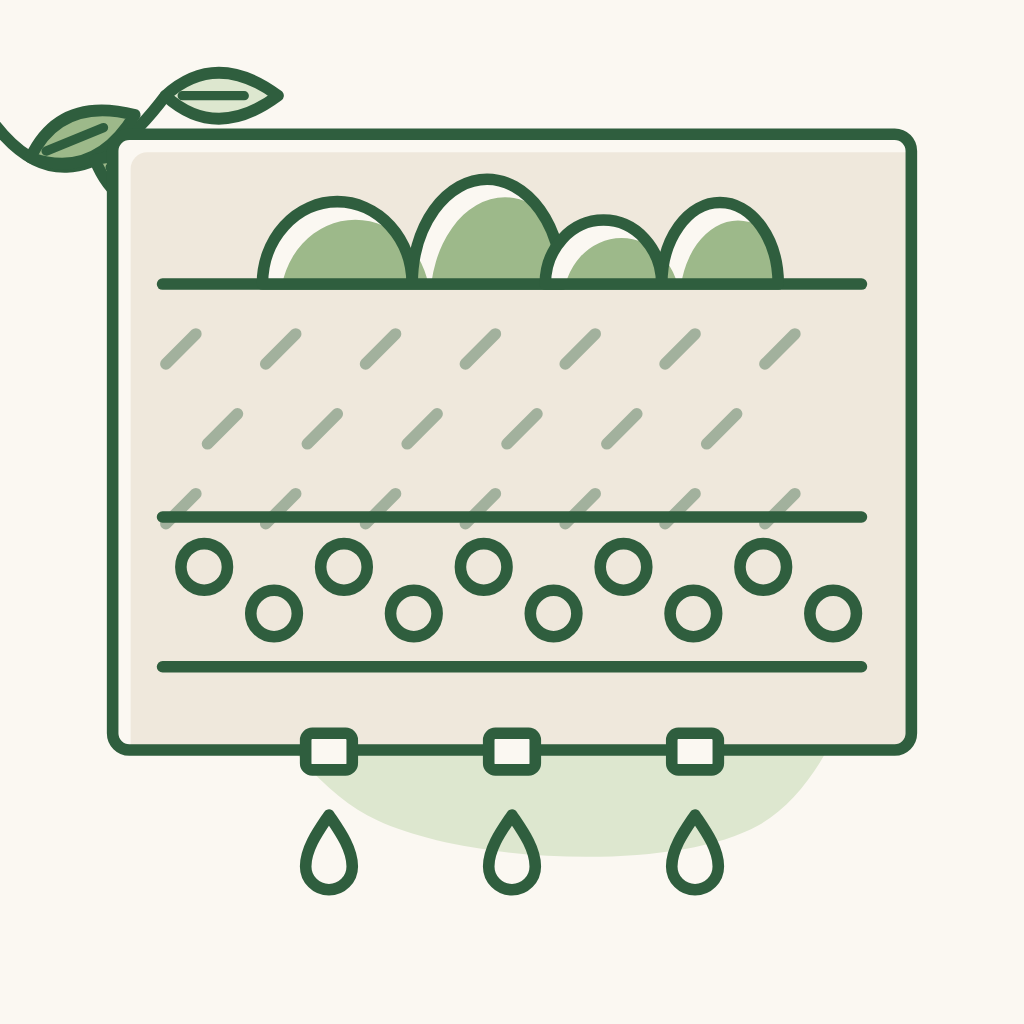
The garden and planters drain well, with no standing water.
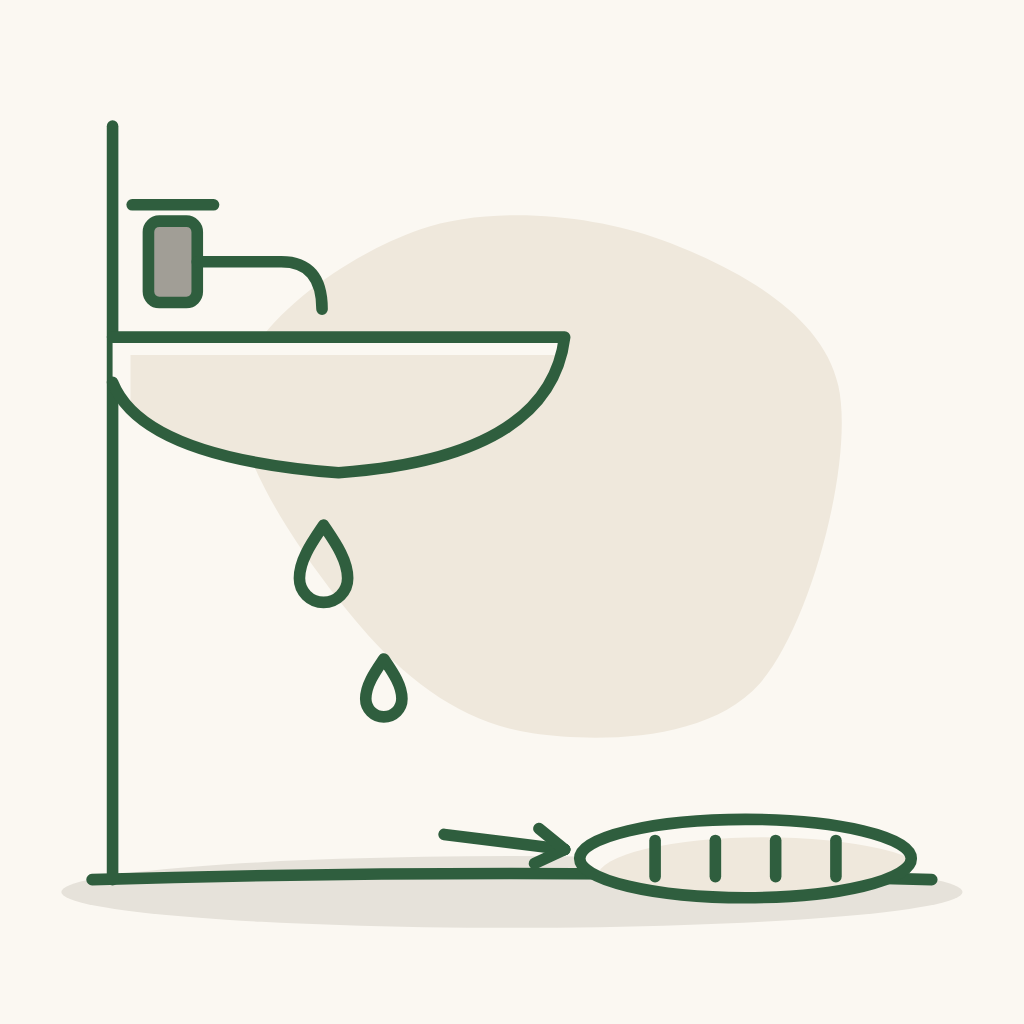
The dry toilet area also has a drain hole - because it still gets wet from hand washing and bathing.
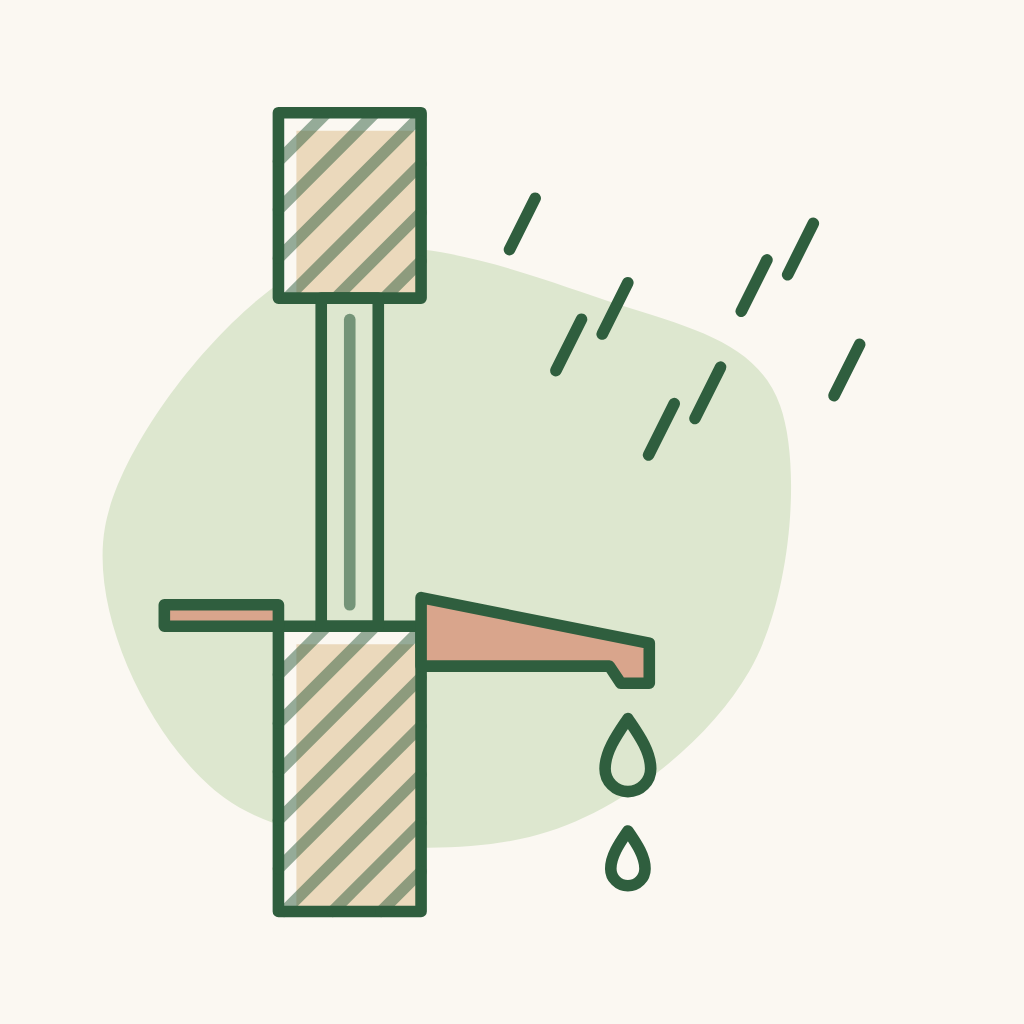
Doors and windows: what needs to be done so rain water does not pool or flow in? Are drain holes needed?
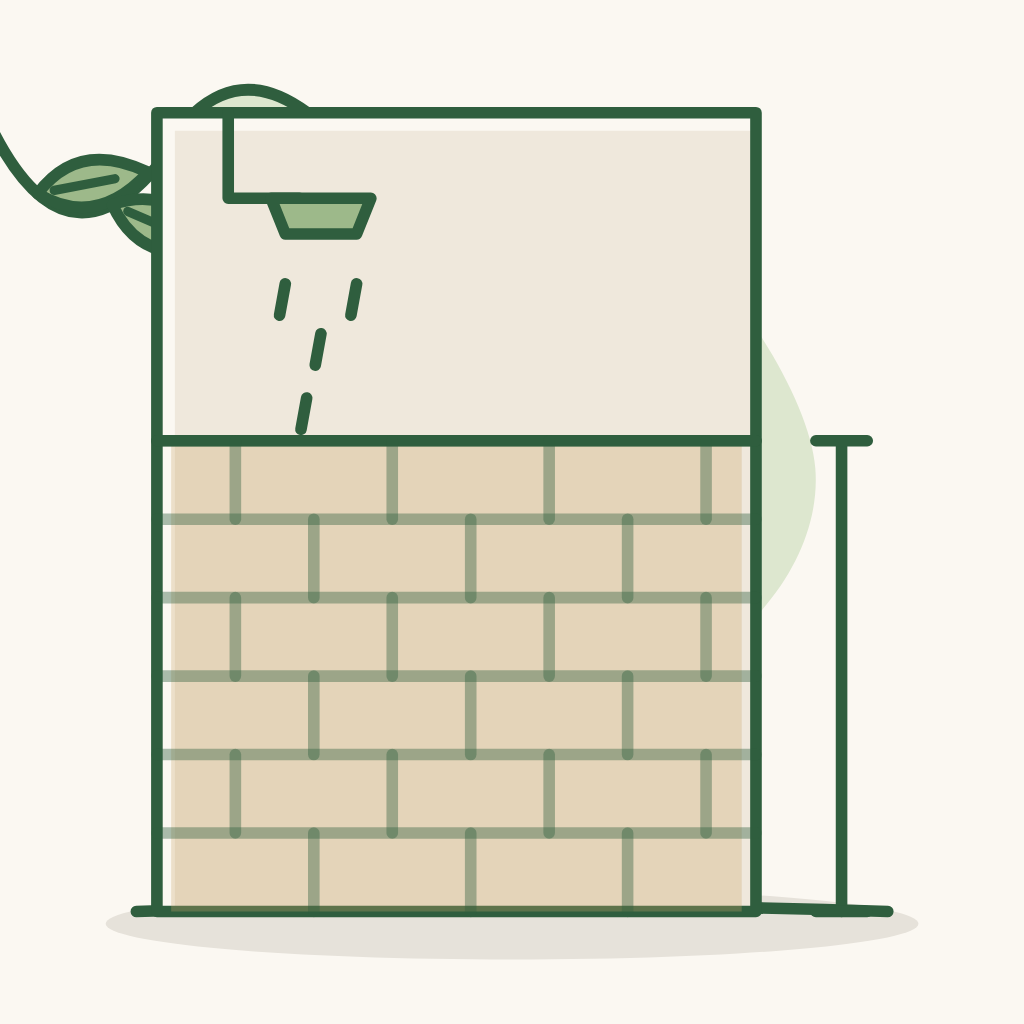
Should bathroom waterproofing go up to 1.8-2 m, or is the whole wall better? Is reverse waterproofing on the ceiling of the floor below needed? Should waterproofing be tested by flooding for 72 hours?

Pipe maintenance without breaking into walls: when repairs, unclogging or septic tank pumping are needed, there are ready openings to feed the hose in.
Electrical, plumbing, air-conditioning, network — done before plastering and tiling.
Floors, walls, ceilings, doors, paint.
Kitchen, sanitary ware, built-in cabinets.
Loose furniture and lighting, done last inside the house.
Gate, yard, plants, irrigation.
Checks before taking over the house and after moving in.